Challenge – Produce a complex 3D-printed wax injection die and ceramic core in 4 weeks or less.
The PERFECT-3D design team created a wax injection die and ceramic core design to meet foundry requirements. This die incorporated the production requirements as specified by the foundry, including shrinkage.
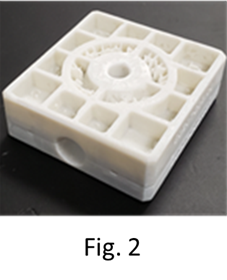
After review and customer approval, the die was then 3D-printed using high temperature material complete with injection ports as shown in Fig 2. The die halves were then post-processed and finished to customer requirements. The benefit of this approach is that it enabled the foundry to use their standard injection process and wax. Unlike 3D-printed waxes that require each piece to be finished. Dies and finished to desired level once, then each injected pattern reflects same surface finish as die.
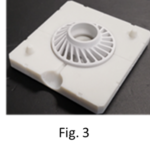
PERFECT-3D then produced the 3D-printed ceramic cores with our ceramic core material. These cores were then post-processed and inspected. Cores were then assembled into wax die as shown in Fig 3. Die halves were then assembled and readied for wax injection.
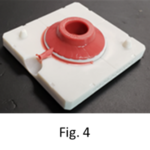
Wax is injected into the die and surrounds the core. This process was repeated to produce 6 patterns to be delivered to foundry (See Fig 4).
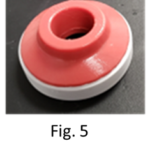
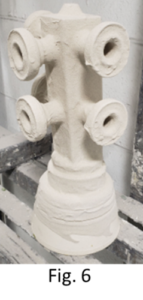
Six patterns were completed (Fig 5) and delivered to the foundry. The foundry then assembled the patterns on the mold tree and processed in their normal operations (See Fig 6).
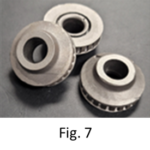
Six castings were produced from 316 stainless steel (Fig 7). Castings were completed and the remaining core material was leached from the castings.
The benefits include shorter time-to-production for injected patterns with cores. This approach provided patterns with core geometries that can only be produced with 3D-printing. In the event changes are required by the end user or actions required from the development process, making a new 3D-printed die is less expensive and much more rapid.
